How to Recondition Old Batteries Without Special Tools or Chemicals
Let's be honest, we've all been there. You pull out your trusty flashlight, eager to illuminate a dark corner, only to find it sputtering weakly like a dying firefly. Or maybe your car battery, once a beacon of power, struggles to even turn the engine over. It's the dreaded "low battery" blues, and the thought of buying a brand-new one might make your wallet groan. But don't despair! There are ways to bring life back into your old batteries without breaking the bank or resorting to complicated chemistry experiments.
Now, before we dive in, let's be realistic. This isn't a magic trick to turn your dead battery into a super-powered energy source. We're talking about revitalizing those batteries that have lost a bit of their spark, not resurrecting the completely deceased. But hey, a little extra life is better than none, right?
Understanding Battery Basics
To make the most of our battery reconditioning efforts, it's good to have a basic understanding of how batteries work. Think of a battery as a storage container for electrical energy. Inside, there are chemical reactions happening, converting stored energy into electricity. Over time, these reactions can become less efficient, leading to a decline in battery performance.
There are two main types of batteries we'll focus on:
- Lead-acid batteries: These are the workhorses, commonly found in cars, motorcycles, and even some power tools. They use lead plates and a sulfuric acid solution to generate electricity.
- Alkaline batteries: These are the everyday heroes powering our flashlights, remote controls, and toys. They utilize a mix of chemicals like manganese dioxide and potassium hydroxide to produce electricity.
While both types age and lose their power over time, they can benefit from different reconditioning methods.
Reconditioning Lead-Acid Batteries
Lead-acid batteries are tough cookies, but they can lose their pep over time due to several factors:
- Sulfation: Lead sulfate crystals can form on the battery plates, hindering the chemical reactions and reducing capacity.
- Corrosion: The battery terminals can corrode, creating resistance and reducing current flow.
- Sedimentation: Lead particles can settle at the bottom of the battery, reducing efficiency.
Here are some DIY methods to tackle these problems:
Desulfation
The most common approach is desulfation, which aims to break down the lead sulfate crystals. Here's how to do it:
- Charge the battery: Connect the battery to a slow charger (usually 2-4 amps) for 12-24 hours. This will help to break down some of the sulfation.
- Desulfation cycle: After the initial charge, disconnect the charger. Next, connect a load to the battery, like a car headlight or a high-powered resistor (available online). This will draw current from the battery, further promoting desulfation. Leave the load connected for 1-2 hours, then disconnect it and recharge the battery. Repeat this cycle for several days.
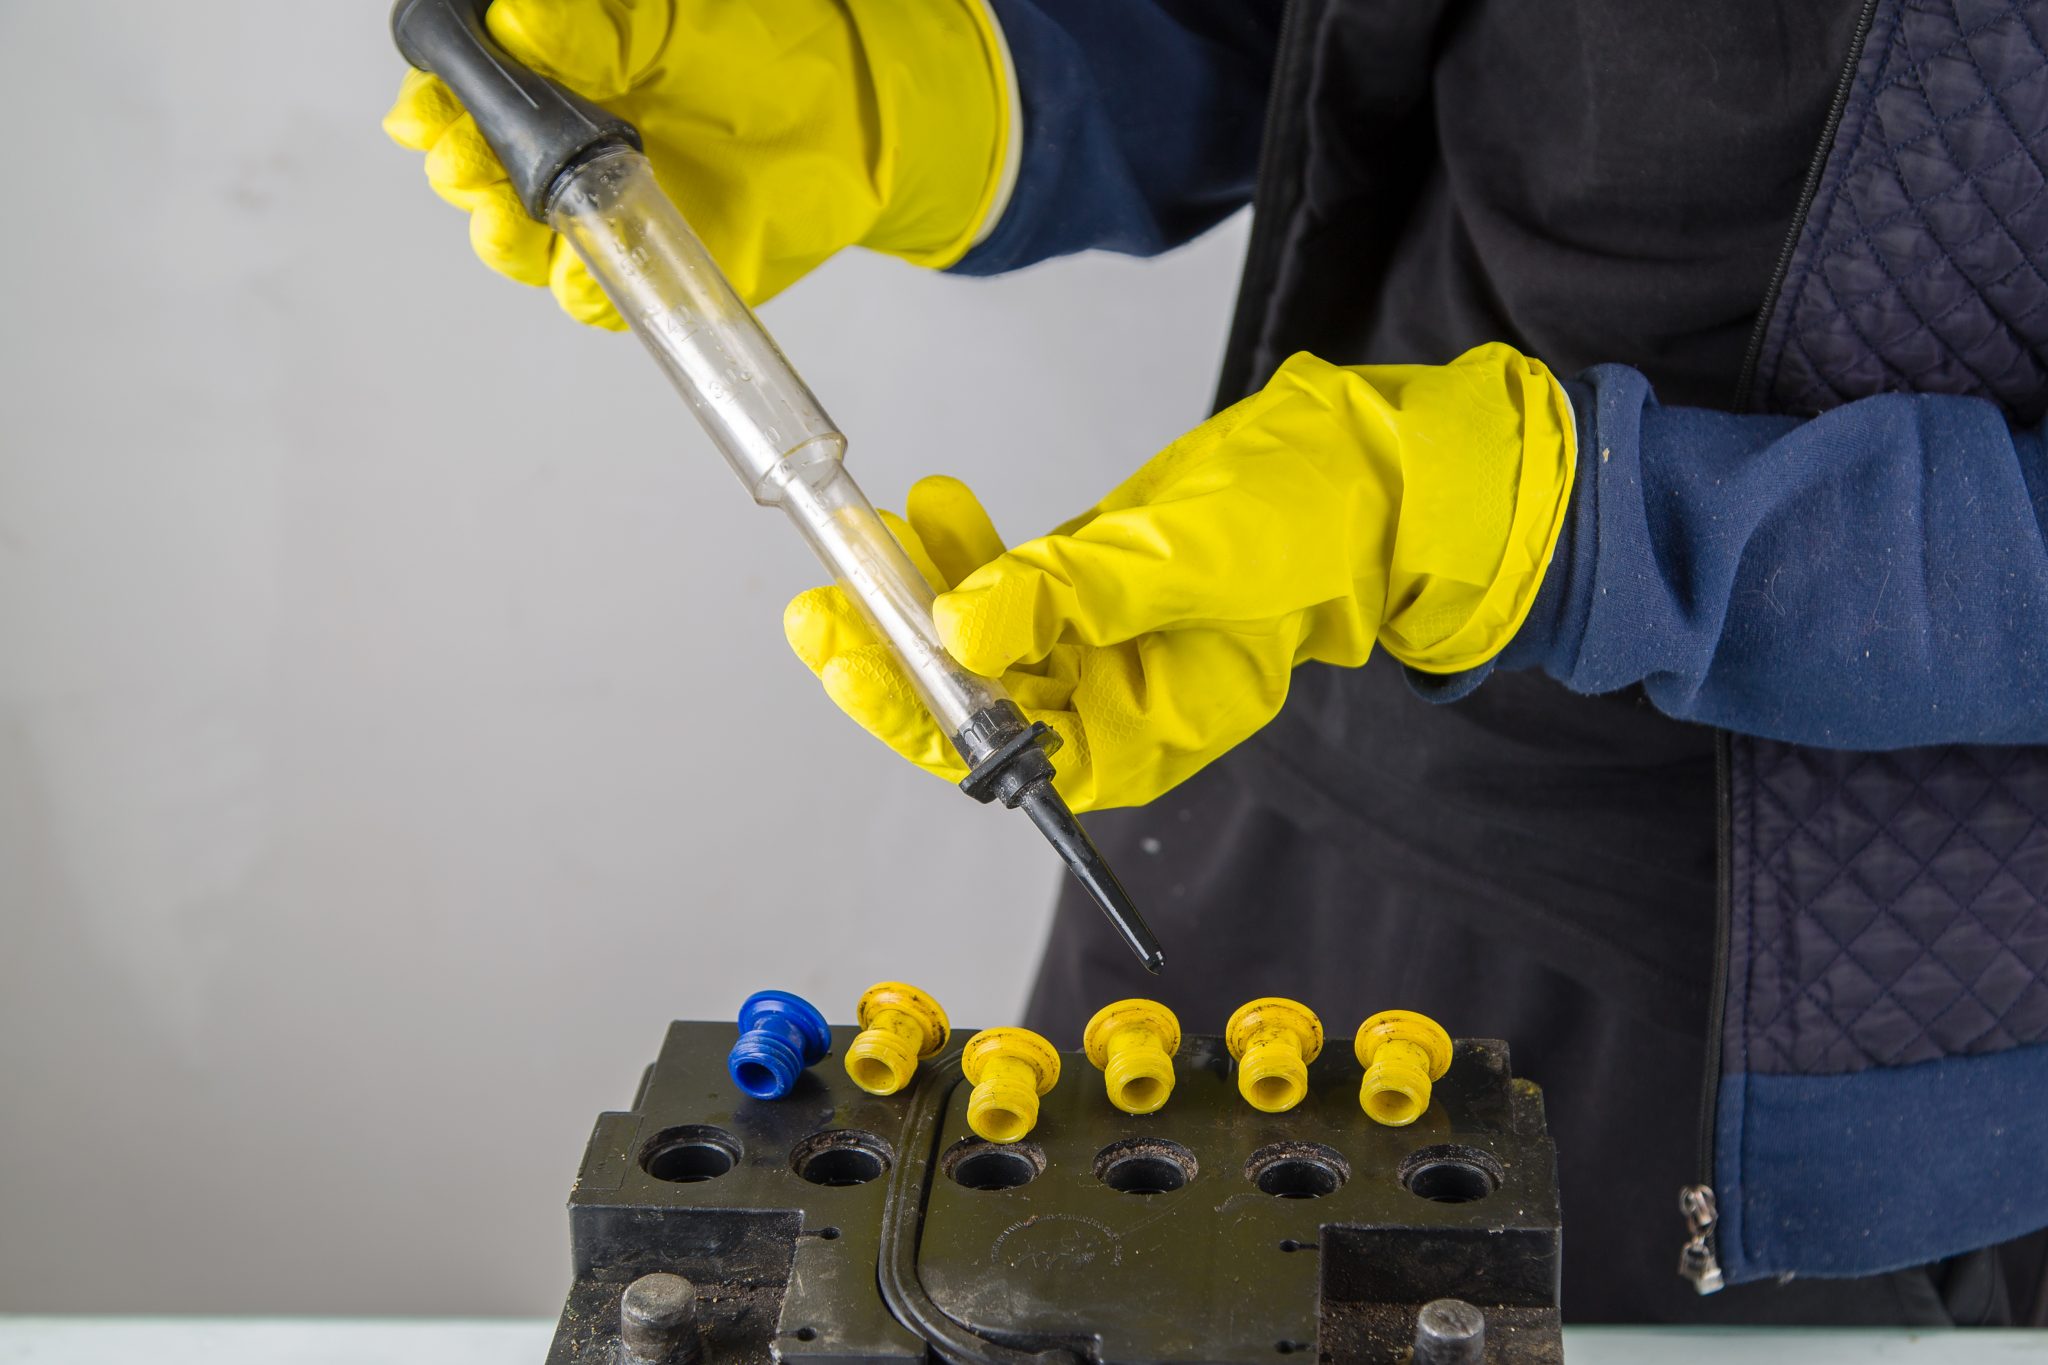
- Monitor the battery: While desulfation is ongoing, check the battery's voltage and specific gravity (using a hydrometer) to monitor its progress.
Cleaning Terminals
Clean, corrosion-free terminals are essential for a smooth flow of current. Here's how to clean them:
- Disconnect the battery: Before you start, make sure the battery is disconnected from your vehicle or device to avoid any potential hazards.
- Remove corrosion: Use a wire brush or a baking soda paste to gently scrub away any corrosion build-up on the terminals.
- Protect the terminals: After cleaning, apply a thin layer of petroleum jelly or battery terminal grease to prevent further corrosion.
Reconditioning Alkaline Batteries
While alkaline batteries are not as easily reconditioned as lead-acid batteries, there are a few tricks you can try:
The Freeze-Thaw Method
This method is based on the idea that freezing and thawing can help to break down the chemical compounds in the battery, potentially restoring some of its power. However, it's not a foolproof method and may not work for all batteries. Here's how to do it:
- Freeze the battery: Place the battery in a sealed plastic bag and put it in the freezer for 12-24 hours.
- Thaw the battery: Remove the battery from the freezer and let it thaw completely at room temperature.
- Test the battery: After thawing, test the battery in your device. If it works, you've successfully reconditioned it.
The Sun-Drying Method
This method involves exposing the battery to direct sunlight for a few days, which can potentially help to evaporate any moisture inside and restore its power. However, this method is not as reliable as the others. Here's how to do it:
- Prepare the battery: Remove any protective packaging from the battery.
- Expose to sunlight: Place the battery in a dry, sunny location and let it sit for 2-3 days.
- Test the battery: After drying, test the battery in your device.
Important Considerations
Before you start reconditioning your batteries, keep these important points in mind:
- Safety first: Always wear safety glasses and gloves when working with batteries. Lead-acid batteries can emit harmful fumes, so it's essential to work in a well-ventilated area.
- Don't mix batteries: Never mix different types of batteries (e.g., alkaline and lead-acid) as this can cause damage and create a safety hazard.
- Respect battery limits: Don't overcharge or over-discharge your batteries, as this can shorten their lifespan.
- Know when to let go: If your battery is severely damaged or has been sitting unused for an extended period, reconditioning may not be effective. In such cases, it's best to invest in a new battery for your peace of mind and safety.
Reconditioning your old batteries can be a fun and rewarding way to extend their life. By understanding the basics of battery chemistry and applying these DIY techniques, you can give your old batteries a second wind, saving money and minimizing environmental impact. Remember, always prioritize safety and be mindful of the limitations of reconditioning. Good luck, and happy battery reconditioning!
0 comments:
Post a Comment
Note: only a member of this blog may post a comment.